

Introduction: A Story of Frustration and Discovery
Imagine this: You just bought a brand-new solid-state drive. You are excited to breathe new life into your old computer. You sit down at your desk with a cup of coffee. You have your USB drive ready. Then, it hits you. You have no idea which Windows installation methods will actually work for your situation. Do you upgrade? Do you do a clean install? Do you need a product key right away? This confusion is common. I spent hours searching forums for answers. I downloaded the wrong tools.
I almost wiped the wrong drive. It was a mess. But it does not have to be that way for you. This guide will walk you through every major Windows installation methods available today. We will compare the pros and cons of each approach. You will learn which method fits your skill level and your hardware. By the end, you will feel confident. You will know exactly how to install Windows without the headache.
What Is an Upgrade?
An upgrade keeps your files, settings, and programs intact. You move from an older version of Windows to a newer one. For example, you go from Windows 10 to Windows 11. This is the easiest path for most people. However, it can carry over old problems. Corrupt files and bad settings may follow you .
What Is a Clean Install?
A clean install wipes everything on your drive. You start completely fresh. There is no old data. There are no old programs. There are no leftover problems. This is the best choice for a new PC or a fresh start . A clean install also works well when you replace a hard drive with a faster SSD.
Pro Tip: A clean install requires a backup. You will lose all data on the drive you format.
Method 1: Windows Update (The Automatic Upgrade)
How It Works
This is the simplest of all Windows installation methods. You open your Settings app. You go to Windows Update. You click “Check for updates.” If your PC is compatible, Microsoft sends you Windows 11 automatically . You click “Download and install.” The system handles the rest.
Who Is This For?
This method works best for non-technical users. It is also good for people who want to keep everything. You do not need a USB drive. You do not need to create any media. The process is almost fully automatic.
The Downside
Microsoft rolls out updates in waves. You might not see the update right away. Sometimes you must wait weeks or months. You can force the update with other Windows installation methods if you are impatient.
Method 2: Windows 11 Installation Assistant (The Simple Tool)
How It Works
The Installation Assistant is a small program from Microsoft. You download it from the official website. You run the file. It checks if your PC meets the requirements . Then it downloads Windows 11 and installs it. You do not need a USB drive. You do not need to burn any files.
Why Use This Method?
This tool is perfect when Windows Update will not offer you the upgrade. It forces the update to start immediately. It is still simple enough for beginners. The tool guides you through every step. You just click “Accept” and “Install” .
What to Watch Out For
The Installation Assistant only works on compatible PCs. It will stop if your hardware does not meet the minimum requirements. This includes TPM 2.0 and Secure Boot. Also, this tool performs an upgrade, not a clean install. Your old files will remain on the system.
Method 3: Media Creation Tool (The USB Standard)
How It Works
This is one of the most popular Windows installation methods. You download the Media Creation Tool from Microsoft. You plug in a USB drive with at least 8GB of space . The tool downloads Windows 11 and writes it to the USB. Then, you boot your target PC from that USB. You follow the on-screen prompts to install Windows.
Why Choose This Method?
This method is ideal for a clean install. It works on brand-new hard drives. It also works when you want to wipe an old system completely. You have full control over the process . You can choose to format the drive during installation.
Important Note
The Media Creation Tool erases everything on your USB drive. Make sure you back up any files on the USB first. Also, you need a working Windows PC to create the USB in the first place.
Method 4: Rufus and ISO Files (The Power User Choice)
How It Works
This method gives you more control. First, you download the Windows 11 ISO file from Microsoft. An ISO is a single file that contains all the installation data. Then, you use a third-party tool called Rufus. Rufus writes the ISO to your USB drive . It lets you choose specific settings like partition scheme (GPT or MBR). These settings matter for UEFI and Secure Boot systems.
Why Use Rufus?
Rufus is faster than the official Microsoft tool for many users. It also offers advanced options. For example, you can bypass the Microsoft account requirement during setup. You can also remove the TPM 2.0 check in some versions. This is helpful for older hardware.
Who Is This For?
This method suits users who are comfortable with technology. It is not the easiest path for beginners. However, it is one of the most flexible Windows installation methods available.
Method 5: Mounting an ISO Directly (The No-USB Option)
How It Works
You do not always need a USB drive. If you already have Windows running, you can mount the ISO file directly. In Windows 10 or 11, you simply double-click the ISO file. Windows treats it like a virtual DVD drive . You open that virtual drive and run “setup.exe.” The installation begins from within your current system.
When Is This Useful?
This method works for upgrades and in-place repairs. It is fast and requires no extra hardware. It is perfect when you do not have a spare USB drive. However, it cannot perform a true clean install on a blank drive. You need a bootable USB for that.
Key Limitation
You must be able to boot into Windows to use this method. If your current system is broken, this will not help you.
Method 6: Reset This PC (The Built-In Reinstall)
How It Works
Windows 11 has a built-in reset feature. You go to Settings > System > Recovery. You click “Reset this PC.” You choose to keep your files or remove everything . Windows then reinstalls itself from a hidden recovery partition or from the cloud.
Why Choose a Reset?
This is the easiest way to reinstall Windows on an existing PC. You do not need any external media. You do not need to enter a product key. The system handles activation automatically. It is a great troubleshooting step for performance problems.
The Catch
A reset is not a true clean install. It uses files already on your system. If those files are corrupted, the reset might not fix your problem. Also, “Keep my files” can leave old settings behind.
Method 7: OEM Recovery Image (The Factory Reset)
How It Works
If you bought a pre-built PC, it came with a recovery image. This image is stored on a hidden partition or available through the manufacturer’s software . You boot into recovery mode and restore the PC to its factory state.
The Pros
This method restores all the original drivers. It also restores the factory utilities. Your hardware should work perfectly right away. This is useful if you are selling the PC or returning it for warranty service.
The Cons
The factory image is often outdated. You will need to run many updates after restoring. It also includes “bloatware.” These are extra programs the manufacturer installed. You may spend time removing them.
Method 8: System Image Restore (The Prepared User’s Option)
How It Works
This method requires preparation. You must create a system image backup beforehand. You use Windows Backup or a third-party tool like Macrium Reflect . The image captures your entire drive. It includes Windows, your programs, and your settings. If something goes wrong, you restore the image.
Why This Is Powerful
This is the fastest recovery method. You get back to a perfect working state in minutes. There is no need to reinstall programs. There is no need to reconfigure settings. Everything is exactly as you left it.
The Requirement
You must plan ahead. You cannot use this method if you did not create the image first. Most users never create one. Therefore, this option is only available to well-prepared people.
Windows Installation Methods and Product Keys: What You Need to Know
Do You Need a New Key?
Not always. If you are upgrading from an activated Windows 10, your license carries over . You do not need to buy anything. If you are building a new PC from scratch, you need a new product key.
Where to Buy Genuine Keys
You can buy directly from Microsoft. The Microsoft Store sells Windows 11 Home and Pro licenses . You can also buy retail boxed copies from authorized retailers. These include Amazon, Best Buy, and Newegg.
Avoid Risky Sources
Many websites sell cheap keys. These often come from volume licensing or stolen sources. Microsoft may deactivate them at any time. Always buy from trusted sellers.
A Reliable Alternative
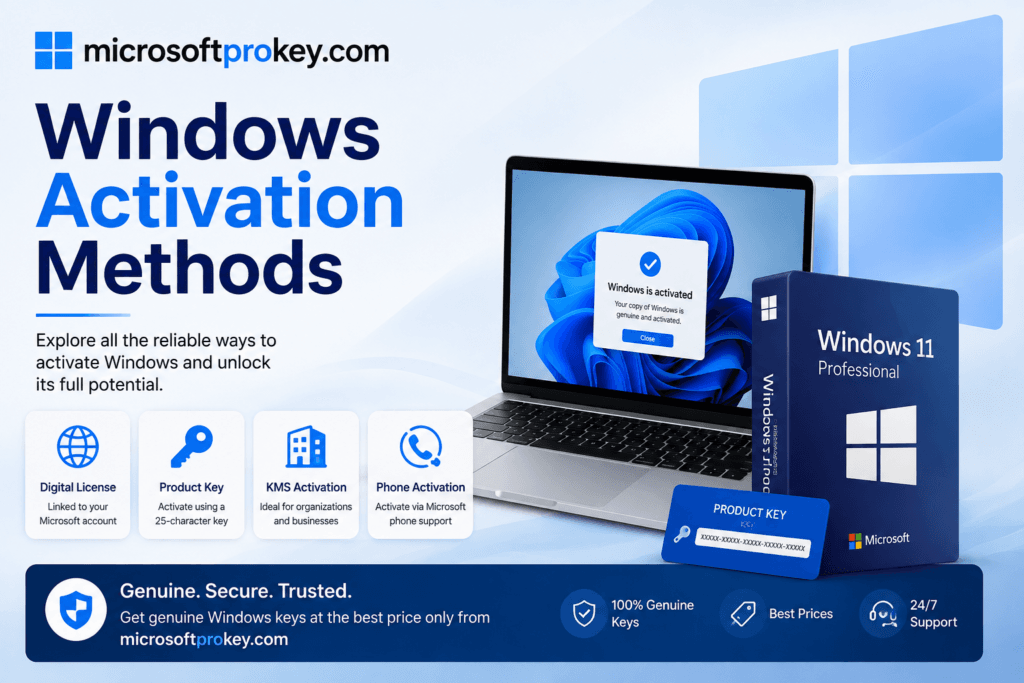
For budget-conscious users, Microsoftprokey offers genuine Windows product keys at competitive prices. You can find their offerings at https://microsoftprokey.com/. They provide a legitimate option for activating your Windows installation.
During Installation
Windows setup will ask for a product key. You can click “I don’t have a product key” and continue . You can enter the key later after installation. This is helpful if you want to test the system first.
How to Choose the Right Windows Installation Methods for Your Needs
For Beginners
Choose Windows Update or the Installation Assistant. These are the simplest Windows installation methods. They require almost no technical knowledge. You just click a few buttons and wait.
For a Fresh Start
Choose the Media Creation Tool with a USB drive. This gives you a true clean install. Your system will be free of old problems. You will need to back up your data first.
For New Hardware
A clean install is always best for a new SSD or a new PC build. Use the Media Creation Tool or Rufus. These Windows installation methods give you full control over the drive setup.
For Troubleshooting
Try Reset This PC first. It is fast and easy. If that fails, move to a clean install with a USB drive. A clean install solves almost every software problem.
For IT Professionals
Rufus with custom ISO settings offers the most flexibility. System image deployment works well for multiple machines. These Windows installation methods save time in business environments.
Common Mistakes to Avoid During Installation
Not Backing Up Data
This is the biggest mistake. A clean install erases everything. Back up your files to an external drive or the cloud before you start .
Choosing the Wrong Edition
Windows 11 comes in Home and Pro editions. Make sure you install the edition that matches your license . If you install the wrong one, activation will fail.
Ignoring Hardware Requirements
Windows 11 requires TPM 2.0 and Secure Boot . It also needs 4GB of RAM and 64GB of storage. Check your PC before you begin.
Using a Bad USB Drive
Not all USB drives work for installation. Some cheap drives fail during the write process. Use a reliable brand with at least 8GB capacity.
Disconnecting the USB Too Early
During installation, Windows restarts several times. Do not remove the USB drive until setup is complete. You may need to boot from it again.
Optimizing Your New Windows Installation
Run Windows Update
After installation, check for updates immediately. Install all critical patches. This secures your system and fixes bugs .
Install Drivers
Windows Update finds most drivers. However, you may need to visit your PC manufacturer’s website. Download the latest chipset and graphics drivers. This improves performance and stability.
Remove Unwanted Apps
A clean install still includes some preinstalled apps. Go to Settings > Apps and remove what you do not need. This frees up space and reduces clutter.
Set Up Security
Enable Windows Security. Turn on ransomware protection. Make sure your firewall is active. These steps protect your fresh installation from threats.
Create a Restore Point
After you finish setting up, create a restore point. This gives you a safety net. If something breaks later, you can roll back without reinstalling.
FAQ’s
What are the main Windows installation methods?
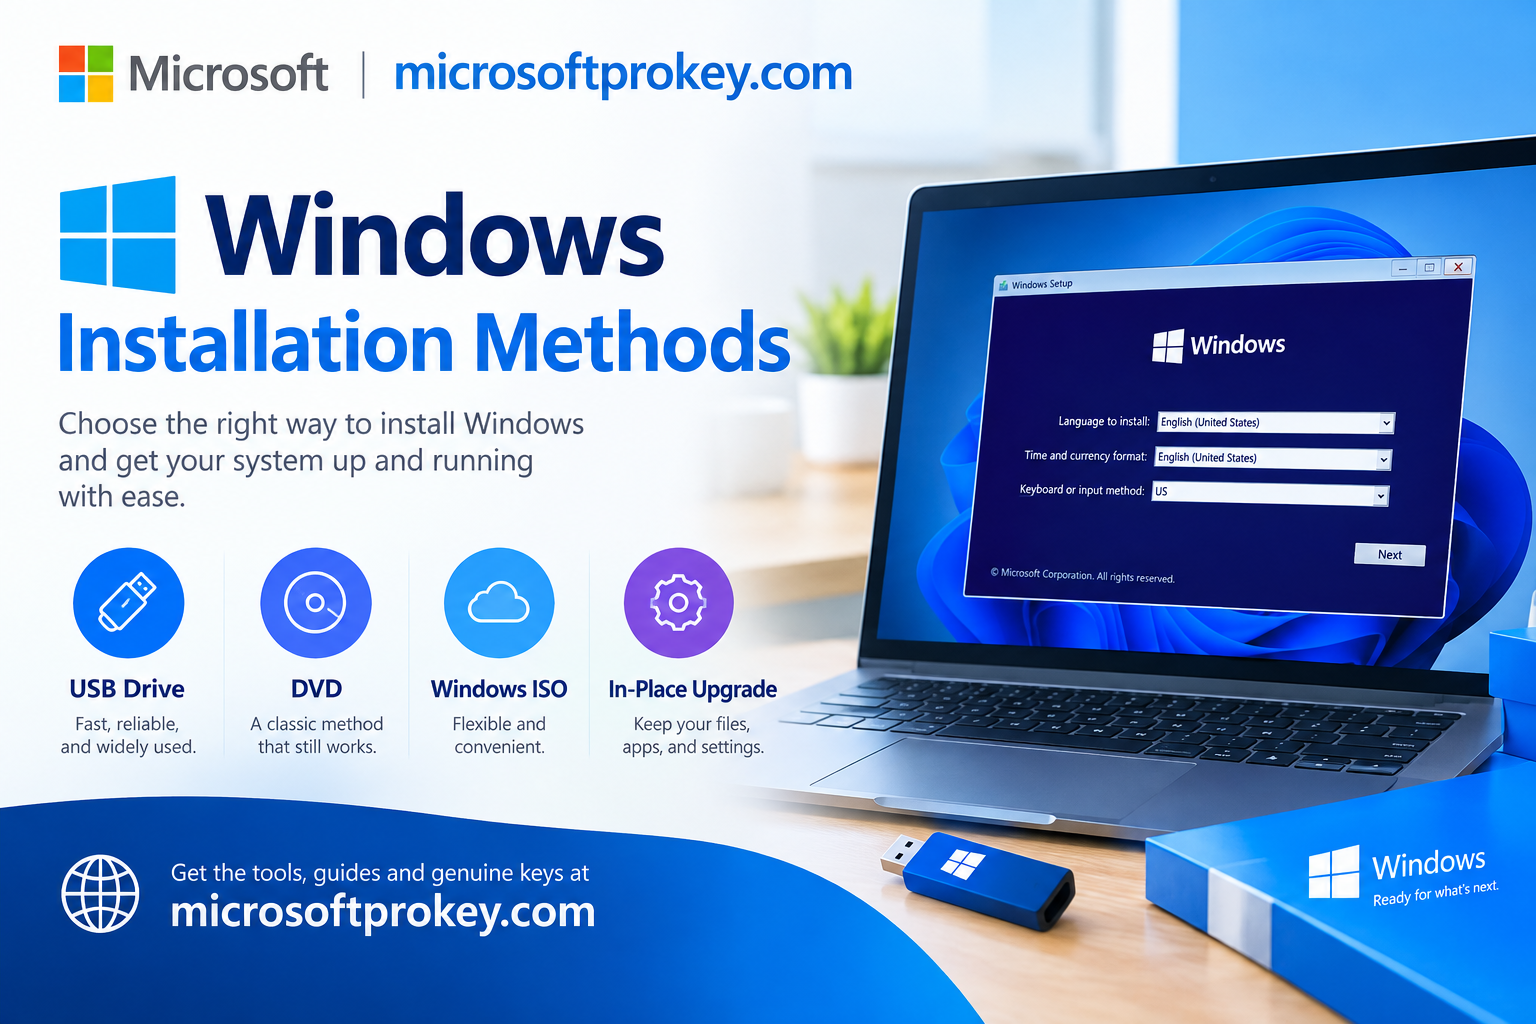
The main Windows installation methods include Windows Update, Installation Assistant, Media Creation Tool, Rufus with ISO, mounting an ISO, Reset This PC, OEM recovery, and system image restore. Each method suits different situations and skill levels.
Do I need a product key to install Windows 11?
You do not need a product key to start the installation. You can click “I don’t have a product key” during setup. However, you need a valid key to activate Windows and access all features. You can enter the key after installation.
Which Windows installation method is best for a clean install?
The Media Creation Tool with a USB drive is the best method for a clean install. It gives you full control and works on blank drives. Rufus with an ISO file is also excellent for advanced users who want more options.
Can I install Windows 11 without a USB drive?
Yes. You can mount the ISO file directly in Windows and run setup.exe. You can also use Reset This PC from Settings. However, these methods only work if you already have a running Windows system.
How long does a Windows installation take?
An upgrade usually takes 30 to 60 minutes. A clean install takes 20 to 40 minutes. The time depends on your hardware speed and internet connection. The process includes multiple restarts.
Conclusion: Finding Your Path to a Fresh Start
Choosing among the many Windows installation methods can feel overwhelming at first. However, the right choice becomes clear once you understand your goal. Do you want to keep your files? Use Windows Update or the Installation Assistant. Do you want a completely fresh start?
Use the Media Creation Tool or Rufus. Are you fixing a broken system? Try Reset This PC or a system image restore. Each method has strengths and weaknesses. The key is to match the method to your situation.
Always back up your data before you begin. Always verify your hardware meets the requirements. Always use genuine product keys from trusted sources like Microsoftprokey. With the right preparation, your installation will go smoothly.
You will end up with a fast, secure, and reliable Windows system. The frustration you felt at the start will fade away. In its place, you will have confidence. You will know that you can handle any Windows installation methods that come your way. Now, go ahead and take that first step. Your fresh Windows experience awaits.